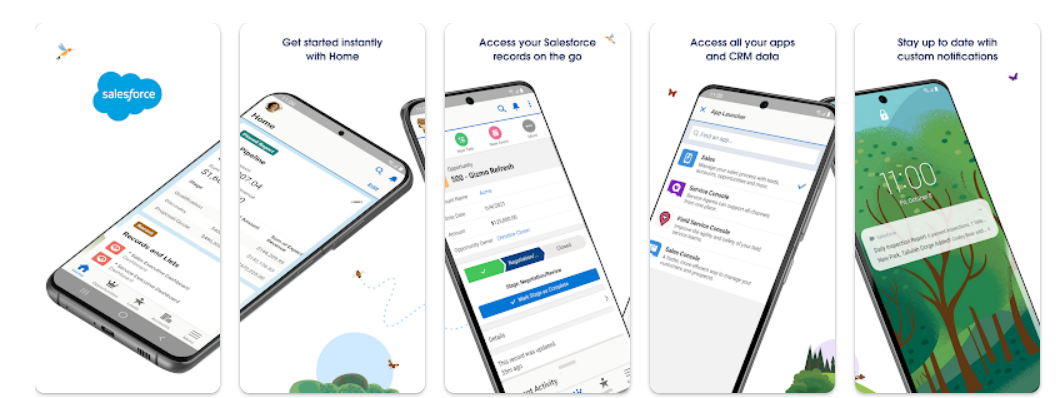
Salesforce, the leading customer relationship management (CRM) platform, offers a robust mobile app that enables users to access and manage their Salesforce data on the go. Whether you are a sales representative, manager, or executive, the Salesforce mobile app provides a convenient and efficient way to stay connected and productive while away from your desk. This guide will walk you through the steps to effectively utilize the Salesforce mobile app.

Step 1: Download and Install the Salesforce Mobile App:
1. Visit your device's app store (App Store for iOS or Google Play Store for Android).
2. Search for "Salesforce" in the app store search bar.
3. Locate the official Salesforce mobile app and tap on it.
4. Tap on the "Download" or "Install" button to initiate the installation process.
5. Once the installation is complete, open the app.

Step 2: Log in to the Salesforce Mobile App:
1. Launch the Salesforce mobile app on your device.
2. On the login screen, enter your Salesforce username and password.
3. If prompted, enter the verification code sent to your registered email or mobile number.
4. Tap on the "Log in" or "Sign in" button to access your Salesforce account.
Step 3: Navigate the Salesforce Mobile App Interface:
1. Home Screen: After logging in, you will be directed to the home screen of the Salesforce mobile app. This screen provides a customizable dashboard that displays key information, such as recent records, tasks, and upcoming events. Swipe left or right to view different components.
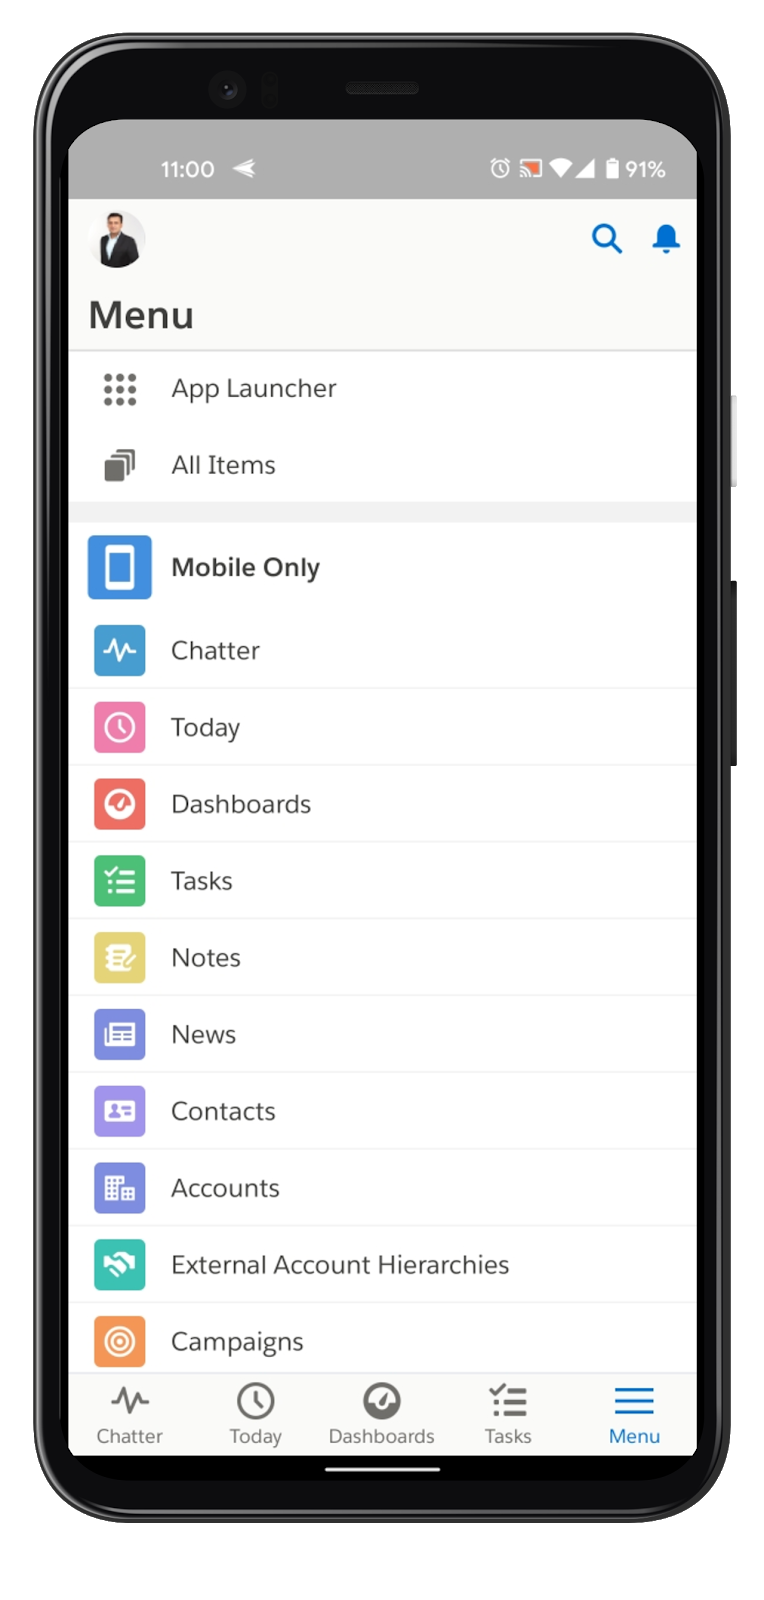
2. App Launcher: To access various Salesforce features and modules, tap on the app launcher icon located at the bottom of the screen (usually a grid of squares or a nine-dot icon). This opens a menu with a list of available Salesforce apps and modules.
3. Record Details: Tap on a specific record from your home screen or search results to view its details. You can scroll vertically to see all the fields and related information associated with that record.
4. Navigation Menu: The navigation menu, typically located at the bottom of the screen, provides quick access to essential features such as Accounts, Contacts, Opportunities, and more. Tap on the respective icon to navigate to a specific module.
Step 4: Utilize Key Features and Functions:
1. Search: Tap on the search icon (usually represented by a magnifying glass) to search for specific records, contacts, or any other information within Salesforce.

2. Create and Edit Records: To create a new record, tap on the "+" icon, usually located at the bottom center of the screen. Choose the desired record type, fill in the necessary details, and save the record. To edit an existing record, open the record details and tap on the "Edit" button.
3. Chatter: Chatter is Salesforce's collaboration tool that enables users to communicate and collaborate within the app. Access Chatter by tapping on the Chatter icon or by navigating to the Chatter module. Post updates, comment on feeds, and collaborate with your team members.
4. Tasks and Events: Manage your tasks and events by tapping on the respective icons in the navigation menu. Create new tasks, set due dates, assign them to colleagues, and mark them as complete. Similarly, manage your calendar events, set reminders, and view upcoming appointments.
5. Notifications: Stay informed about important updates and activities with Salesforce notifications. Notifications can include alerts about record changes, task assignments, approvals, and more. Tap on the bell icon or navigate to the notification center to view and manage your notifications.
6. Sync and Offline Access: The Salesforce mobile app allows you to work offline and sync your data when you regain internet connectivity. This feature enables you to


